中文简体
中文简体




Purging an injection molding machine is the difference between a 25-minute color change and a three-hour production loss. A properly executed purge pushes old resin, carbonized deposits, and pigment residue out of the barrel, screw, and nozzle so the next material starts clean. A rushed purge leaves contamination behind, and that contamination appears as black specks, streaking, or a sudden rise in scrap the moment the mold starts running.
What Is Purging in Injection Molding?
Purging is the cleaning process that removes residual thermoplastic material from the plasticating unit of an injection molding machine. The operator loads a purging compound, or in simple cases a sacrificial resin, and pushes it through the screw and barrel at controlled temperature and backpressure. The purge material displaces the previous resin, collects pigment and degraded polymer, and exits the nozzle as a slug.
Two methods dominate the industry. Mechanical purging compounds clean with high viscosity and shear, physically scrubbing the barrel wall and screw flights. Chemical purging compounds contain active ingredients that break down carbonized polymer at the molecular level. Most molders keep both in stock: a mechanical grade for routine changeovers and a chemical grade for carbonized buildup and maintenance events.
When Should You Purge an Injection Molding Machine?
Purge according to a schedule, not after defects appear. By the time black specks or color streaks reach the mold, contamination is already on the screw and in the hot runner, and every shot before the purge finishes is scrap.
| Trigger | Contamination Left Behind | Consequence of Skipping the Purge |
|---|---|---|
| Material change | Residue of the previous resin with a different melt temperature | Degraded polymer, poor weld lines, brittle parts |
| Color change | Pigment trapped on screw flights and barrel wall | Color streaking and rejected cosmetic parts |
| Planned shutdown | Resin carbonizing in a hot standstill barrel | Black specks and burnt odor at the next startup |
| Screw pull or maintenance | Material locked in the check valve and screw flights | Contamination spreads to other molds and machines |
Add a purge step to every changeover ticket. A written trigger list prevents operators from deciding on the fly, and it gives maintenance a documented baseline when purge times start creeping up.
Mechanical vs. Chemical Purging Compounds
Compound selection decides purge speed and cleaning depth, so confirm the mechanism before buying a single bag.
| Comparison Point | Mechanical Purging Compound | Chemical Purging Compound |
|---|---|---|
| Cleaning mechanism | High-viscosity scrubbing and shear force | Chemical reaction softens and dissolves residue |
| Best suited for | Routine material and color changes | Carbonized deposits, black specks, long shutdowns |
| Processing temperature | Matches the production resin window | Often requires a higher temperature step |
| Cleanup after purging | Minimal; compatible with most resins | May need a follow-up mechanical purge |
| Risk of misuse | Low when temperatures are held correctly | Thermal damage if run outside the recommended range |
For dark-to-light color transitions, a mechanical purge clears most pigment in one or two cycles. For a barrel that has sat idle for two weeks, skip straight to a chemical purge to remove carbonized layers.
How to Purge an Injection Molding Machine: Step by Step
Use the same discipline every time. A consistent procedure produces a predictable result.
- Empty the hopper. Stop feeding resin and run the screw until no new material enters the barrel. Fresh resin dilutes the purge and extends the cycle.
- Set the processing temperature. Adjust barrel temperatures to the purge compound supplier's recommended window, typically near the upper range of the previous resin.
- Load the purge compound. Add enough material to fill the barrel volume at least one and a half times, which is the minimum effective dose for most grades.
- Run short purge shots with backpressure. Use roughly 30 to 50 percent of normal screw speed and moderate backpressure, and eject short slugs instead of one long push. Short strokes carry contamination to the nozzle faster because they repeatedly separate the melt from the screw flights.
- Inspect each slug. Continue until the ejected slug is uniform in color and texture. If black specks reappear after two clean slugs, switch to a chemical purge before loading production resin.
- Load the new resin and test. Introduce the next material, shoot several small parts into the air or a purge tub, and confirm the melt is clean before closing the mold.
Common Purging Problems and How to Fix Them
Most purge failures trace back to temperature, purge volume, or machine wear.
| Problem | Likely Cause | Corrective Action |
|---|---|---|
| Purge takes too long | Barrel temperature too low for the purge grade | Raise the barrel 10 to 20°C and verify the purge grade matches the resin |
| Black specks keep returning | Carbon trapped in dead zones or a worn non-return valve | Run a chemical purge, then inspect the screw and check valve for wear |
| Color will not clear completely | Insufficient purge volume or low backpressure | Increase purge quantity and use short, high-pressure shots |
| Purge solidifies in the barrel | Thermal mismatch between purge and processing window | Match the purge compound to the melt temperature of the resin being cleaned |
| Streaks appear in the first parts | Contamination trapped in the hot runner or nozzle tip | Purge with the nozzle open and run a hot-runner-specific purge step |
Purging Vertical Injection Molding Machines
Vertical presses follow the same purging fundamentals, but the vertical screw arrangement and frequent insert-molding color changes deserve extra attention.
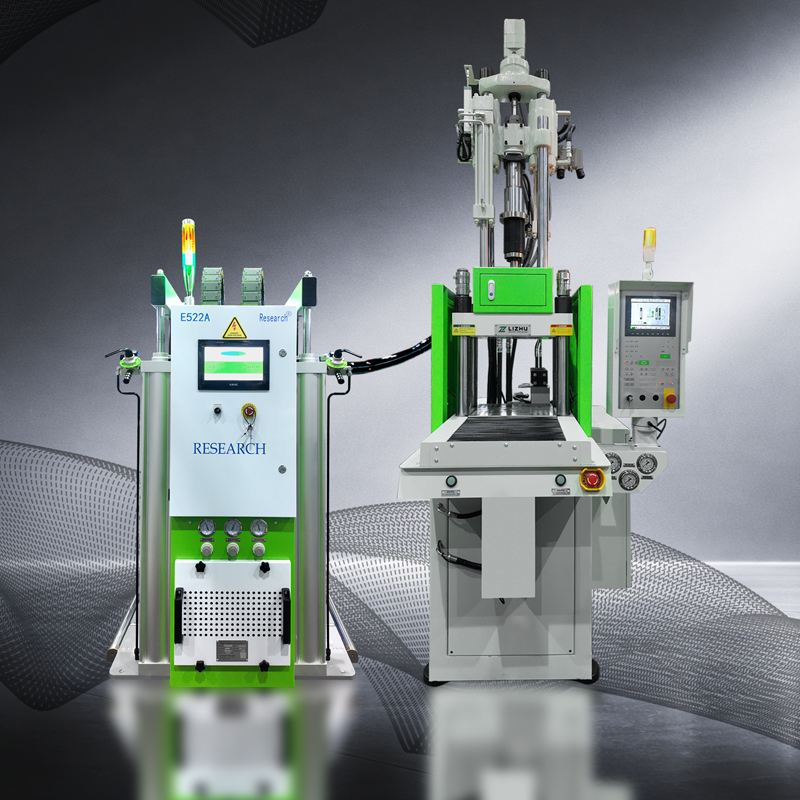
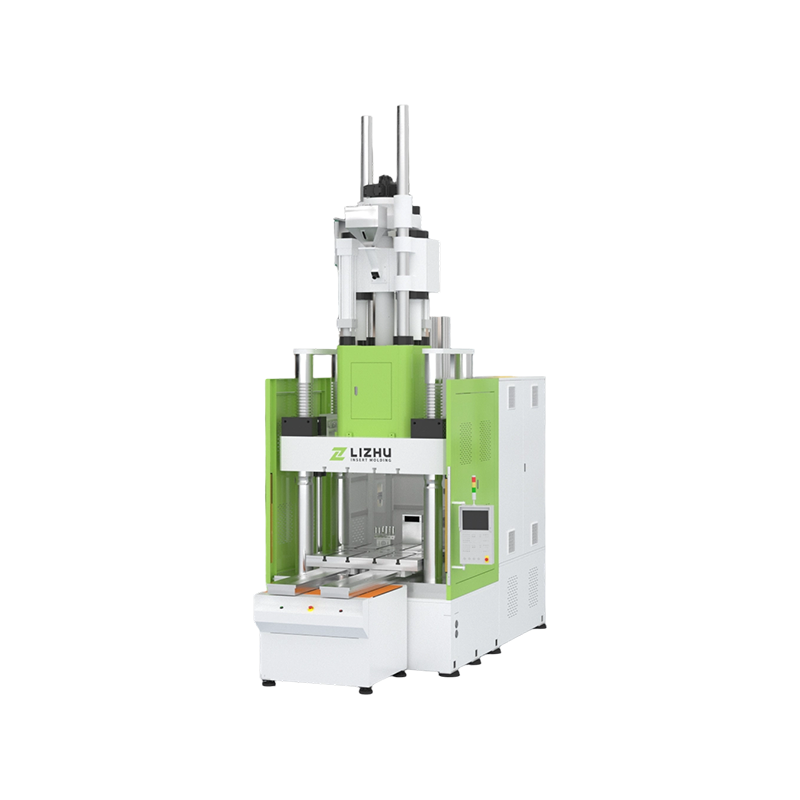
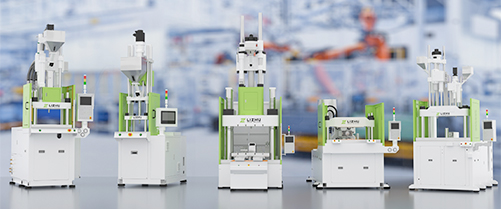
A standard vertical injection molding machine benefits from a purge routine designed around its screw geometry; the vertical barrel tends to hold pigment in the lower flights, so operators should continue purging until two consecutive slugs are completely uniform. For medical and electronics work, LIZHU's vertical injection molding machine lineup includes precision molding equipment that holds stable melt temperatures and reduces the thermal variation that makes purging less predictable.
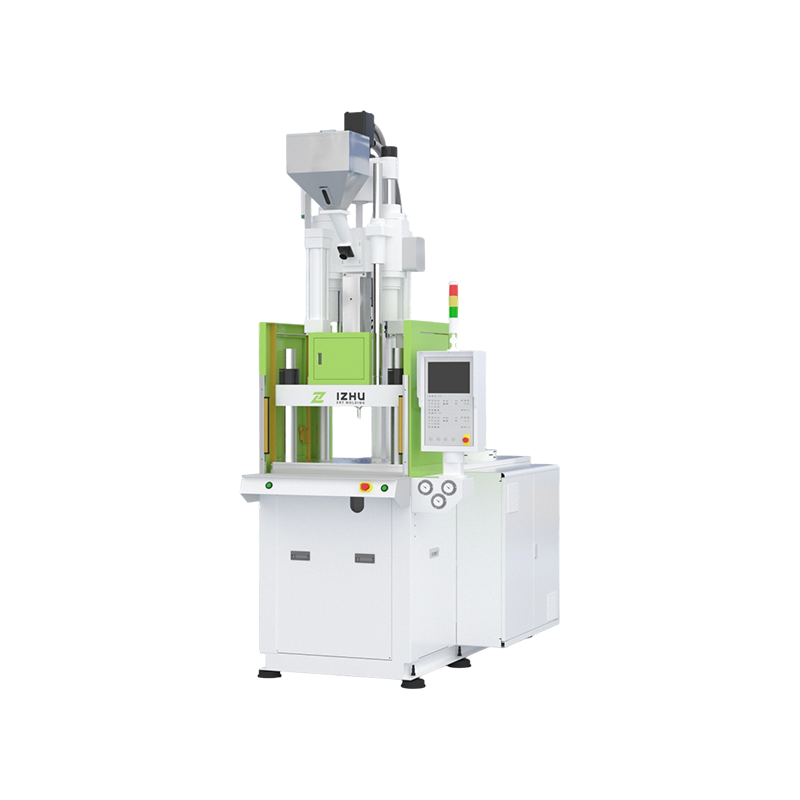 Standard vertical injection molding machine Supplier, CompanyLIZHU Machinery is China wholesale Standard vertical injection molding machine manufacturers supplier and company, offering wholesale sol...View Product →
If your production plan requires frequent color switches, an electric vertical injection molding machine is often a better fit, because servo-driven screw rotation delivers the backpressure consistency that clears color evenly in fewer cycles. Operations that overmold two or three colors can consider a multicolor vertical injection molding machine, which reduces the number of changeovers per shift and directly lowers purge compound consumption.
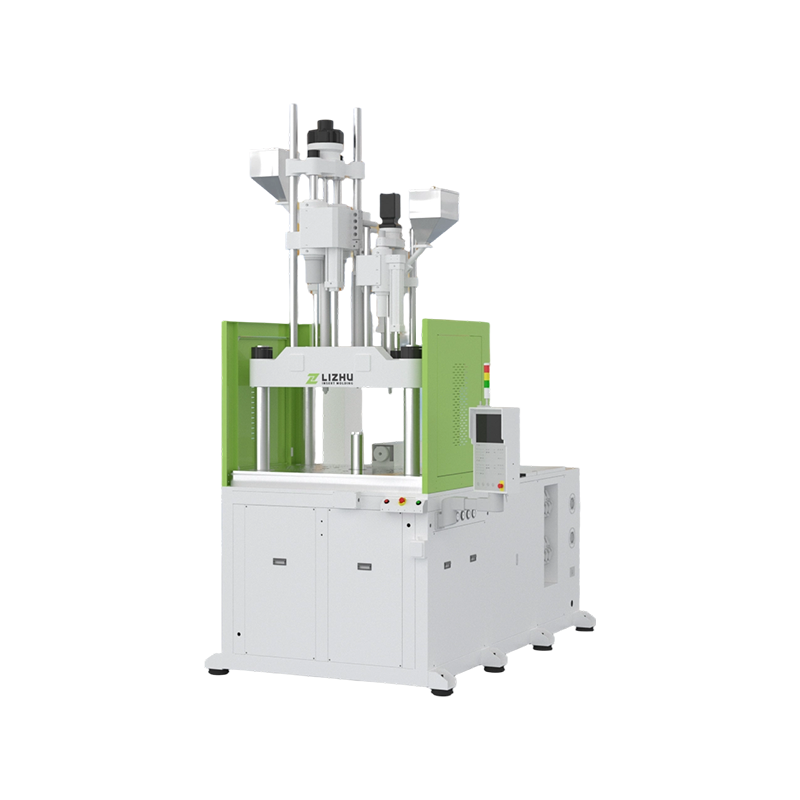 Multicolor vertical injection molding machine Supplier, CompanyLIZHU Machinery is China wholesale Multicolor vertical injection molding machine manufacturers supplier and company, offering wholesale s...View Product →
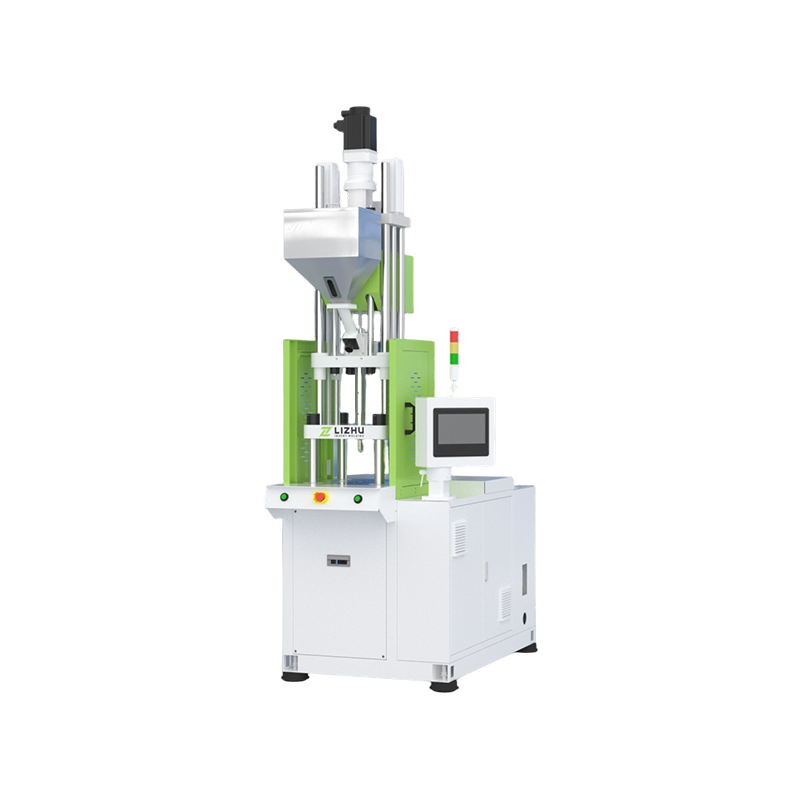 Electric vertical injection molding machine Supplier, CompanyLIZHU Machinery is China wholesale Electric vertical injection molding machine manufacturers supplier and company, offering wholesale sol...View Product →
Best Practices for Faster, Cleaner Changeovers
Small procedural changes compound into measurable uptime gains across a shop floor.
- Create a purge recipe card for each material family, listing the compound grade, temperature, backpressure, and cycle count.
- Measure purge time and material usage per changeover. A 10 percent reduction in purge time across five presses adds hundreds of productive machine hours per year.
- Keep the nozzle and hot runner at purge temperature while cleaning. Cold zones trap pigment and carbon.
- Never exceed the purge compound's maximum recommended temperature; overheated purge material can carbonize and contaminate the barrel further.
- Train operators to read purge slugs. A clean, uniform slug is the only reliable sign that the barrel is ready for production.
- Schedule a chemical purge during preventive maintenance instead of waiting for a visible quality problem.
Purging Injection Molding Machine FAQ
How often should I purge an injection molding machine?
Purge at every material change, every color change, and before every planned shutdown. If dark-to-light color changes happen more than once per shift, track purge time per event to identify machines that need a rebuilt screw or check valve.
How much purging compound should I use per purge?
Use at least one and a half times the barrel volume as a starting point. Dark pigments and carbonized deposits typically require two to three barrel volumes, and a slow-running purge usually needs more volume than a well-pressurized one.
Can I purge with plain resin instead of a commercial compound?
For quick same-family color changes, plain resin can work, but it lacks the viscosity and carrier chemistry of a commercial purge. In practice, saving on compound cost usually costs more in scrap, labor, and machine time.
Should I purge differently on a vertical injection molding machine?
The procedure is the same, but the vertical screw and lower nozzle position make it easier for heavy pigments to settle. Use enough backpressure to keep the melt moving and confirm cleanliness with consecutive uniform slugs before closing the mold.
Conclusion
Purging is a production process, not a cleanup chore. A defined purge procedure protects part quality, shortens changeover time, and extends the life of the screw, barrel, and check valve. Match the compound to the contamination, follow the steps in the same order every time, and the result will be visible in the scrap bin and the production schedule.