中文简体
中文简体


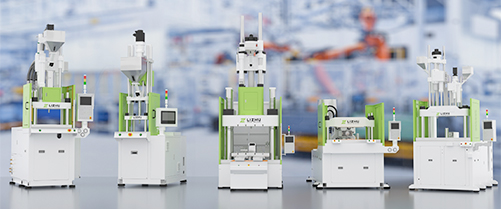



An injection molding machine startup procedure is the fixed sequence of safety checks, hydraulic warm-up, barrel heating, purging, and trial-shot verification that takes a machine from cold and idle to producing its first acceptable part. Done right, it takes 30 to 60 minutes and ends with stable parameters. Done carelessly, it produces a seized screw, burned polymer, a flashed mold, or a defeated safety interlock that injures an operator. This guide covers the full sequence in the order it should be performed, the tolerances that matter, and the mistakes that cost the most.
What an Injection Molding Machine Startup Procedure Covers
The startup procedure guarantees four outcomes, in order: personnel safety, machine integrity, material quality, and process repeatability. Never reorder the sequence to save minutes, because each phase supports the next.
- Pre-startup inspection: confirm the machine is physically and electrically safe to power on.
- Hydraulic system check: verify oil level, temperature, and pressure-control function before any motion.
- Barrel heating: bring all zones to setpoint and allow a controlled soak.
- Purging: remove residual material and confirm a clean, consistent melt.
- Trial shots: establish stable parameters and acceptable parts before automatic cycling.
Horizontal and vertical machines follow the same logic. Vertical injection molding machines require extra attention around the lower platen, the insert-loading area, and any sliding table, because gravity makes debris and loose inserts more likely.
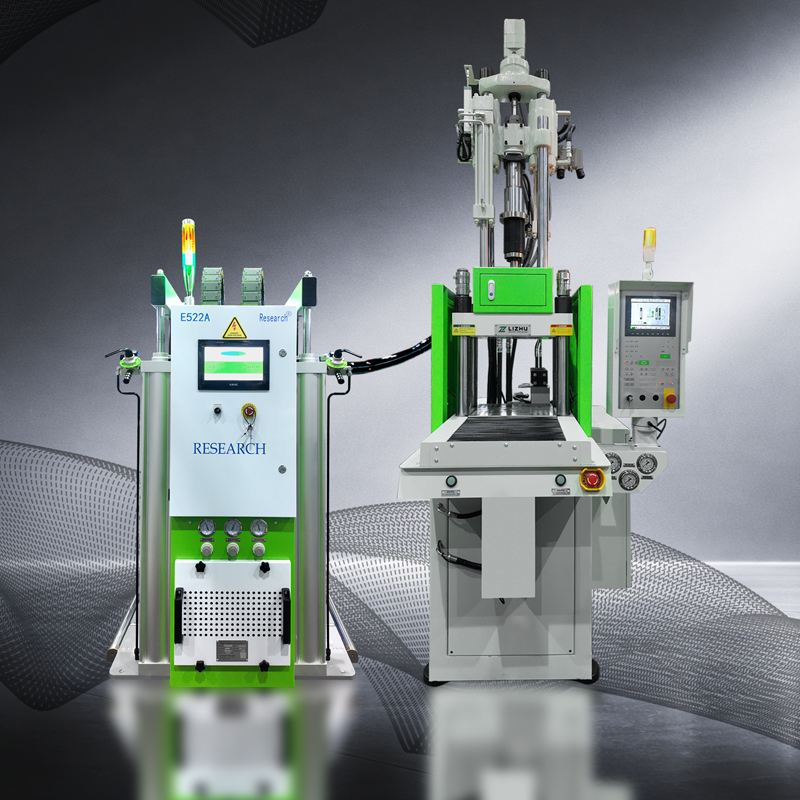
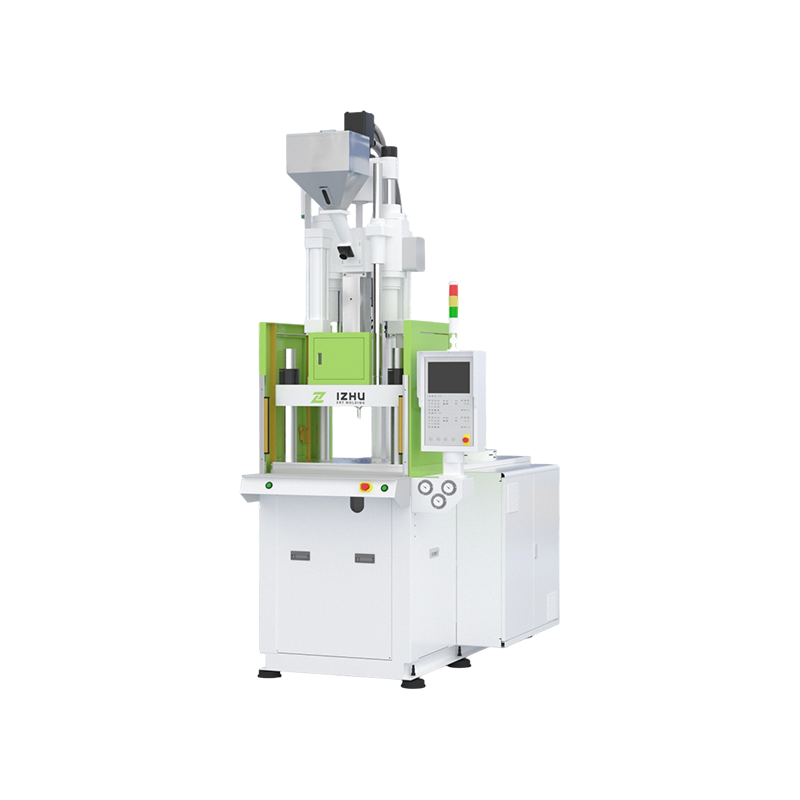 Standard Vertical Injection Molding Machine for Insert MoldingThis machine combines vertical clamping and injection to save floor space and enable precise insert placement. Its design supports high-precision alignment and stable production, making it a reliable choice for complex insert-molded parts.View Product →
Pre-Startup Safety and Condition Checks
Nothing should be energized—no heater, no pump, no screw motor—until the machine passes a visual and functional safety check. Perform this check within the first half-hour of the shift and again after every mold setup; it takes about ten minutes and is the cheapest insurance of the day.
Open the control cabinet and inspect for water or oil ingress; if moisture is present, dry the components before powering on. Confirm the supply voltage is within ±15 percent of rated. Test the emergency stop and both safety doors—the clamp must stop instantly when either door opens. When the pump motor is first jogged, verify rotation direction; reversed rotation can destroy the pump within seconds. Then work through the fluid checks below.
| Area | What to verify | Reference value |
|---|---|---|
| Electrical enclosure | Water or oil ingress | Must be completely dry |
| Power supply | Line voltage | Within ±15% of rated |
| Safety system | Emergency stop, safety door switches | Instant clamp stop |
| Hydraulic oil | Oil level and tank temperature | Oil between 20–50°C |
| Cooling circuit | Water lines, barrel jacket, oil cooler | Clear and unobstructed flow |
| Lubrication | Tie bars, links, sliding surfaces | Fresh grease or oil applied |
On vertical machines, add one more visual check: inspect the lower mold platen and the ejector area for leftover inserts or debris. A single dropped insert under the mold can ruin a precision tool when the clamp closes.
Hydraulic System Startup Sequence
Start the hydraulic system at the lowest possible pressure and raise setpoints only after the pump runs quietly and all gauges respond correctly. Raising pressure before the oil warms and the relief valve is verified is the most common cause of cold-start hydraulic damage.
- Set the startup overflow valve to its lowest pressure setting.
- Run the pump at low pressure for two to three minutes; listen for cavitation noise.
- Raise the relief valve slowly and confirm the pressure rises in a continuous, uniform lift without oscillation.
- Release the valve and check that the pressure gauge returns to zero.
- Confirm oil temperature is between 20–50°C and the pump housing runs 10–30°C above room temperature.
- Perform a noise and vibration test; knocking or rattling indicates air in the system or loose mountings.
- Re-test safety devices under hydraulic pressure, because an internal leak can defeat an interlock that worked while the machine was static.
This sequence protects the pump, the valves, and the operator. It matters even more on machines with accumulators or intensification circuits, where an unverified relief valve can create a pressure spike strong enough to crack a hose fitting.
Heating the Barrel to Setpoint
Bring every barrel zone to its target temperature and hold a soak period of 15 to 30 minutes before rotating the screw. Starting the screw early is the single most common cause of screw jamming and barrel scoring on cold startups.
Check each thermocouple against the actual zone temperature before switching on the heaters; a failed thermocouple can push a zone past the polymer's decomposition point. Set nozzle and barrel zones from the material supplier's data sheet and never exceed the maximum recommended melt temperature for the grade in the barrel.
| Material | Barrel temperature (°C) | Mold temperature (°C) |
|---|---|---|
| PP | 200–230 | 20–60 |
| ABS | 210–250 | 40–80 |
| PA66 | 260–290 | 60–100 |
| PC/ABS | 240–280 | 60–90 |
During the soak, melt can drool from the nozzle. Keep a purge tray underneath, or position the nozzle away from the mold, and confirm any shut-off pin moves freely before it must hold back a full barrel of melt.
Purging the Barrel Before Production
Purge until the previous material is completely displaced and the melt runs with consistent color and flow, then discard the purged material and the first one or two shots before closing the mold on the production tool.
- Confirm all zones are at setpoint and the soak is complete.
- Rotate the screw at low speed—about 20 to 30 percent of maximum—with low or zero backpressure.
- Shoot the residual melt into the purge container until the flow runs clean.
- For a material changeover, use a purging compound or a compatible intermediate resin with a higher melt temperature to strip the previous material.
- Stop screw rotation, clean the nozzle face, and check for drool.
- Load the production material and make short metering shots to confirm melt flow before the first full cycle.
On sliding-table insert molding machines, purge first, then inspect the slide rails and the insert-loading nest. A purged pellet left on a slide surface becomes a molded-in defect in the very first part of the batch.
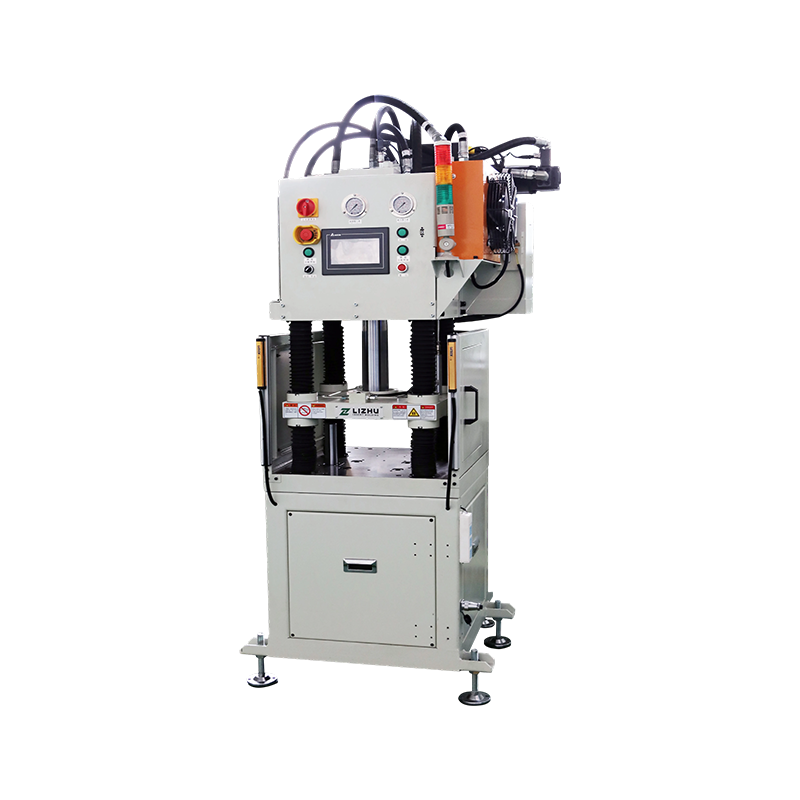
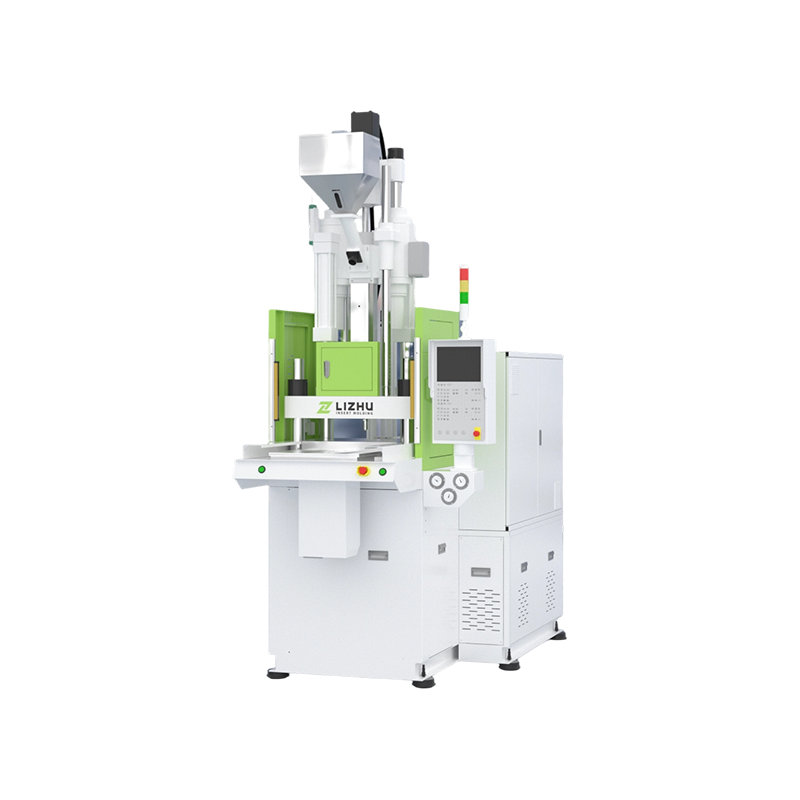 Single Sliding Table Vertical Injection Molding MachineThe fixed sliding mold simplifies operation and reduces maintenance while keeping a compact footprint. It suits insert molding and can integrate with robotic arms for efficient part handling in tight production spaces.View Product →
Setting Parameters and Running Trial Shots
Start the first trial shot at 30 to 50 percent of the expected injection speed and pressure, then increase in small steps until the cavity fills completely without flash, short shot, sink marks, or weld lines. Going straight to automatic cycling with an unverified guess is how cracked molds and stuck parts happen.
Before closing the mold, set clamp tonnage per the mold drawing, adjust die height, and install knockout bars in the correct positions. Then program injection pressure, injection speed, holding pressure, holding time, and cooling time. Check each trial part against these signs:
- Short shot: increase injection volume or add a step of injection speed.
- Flash: reduce injection pressure or increase clamp tonnage and holding time.
- Sink marks: raise holding pressure or extend holding time before gate freeze.
- Weld lines: raise mold temperature or injection speed at the knit-line position.
Weigh every tenth shot for the first 30 minutes of production; drift above about one percent indicates a feed, valve, or temperature problem that should be corrected before the batch continues. For precision applications such as medical disposables and 3C connector housings, servo-driven electric vertical injection molding machines hold injection speed and holding pressure with less warm-up drift than hydraulic machines.
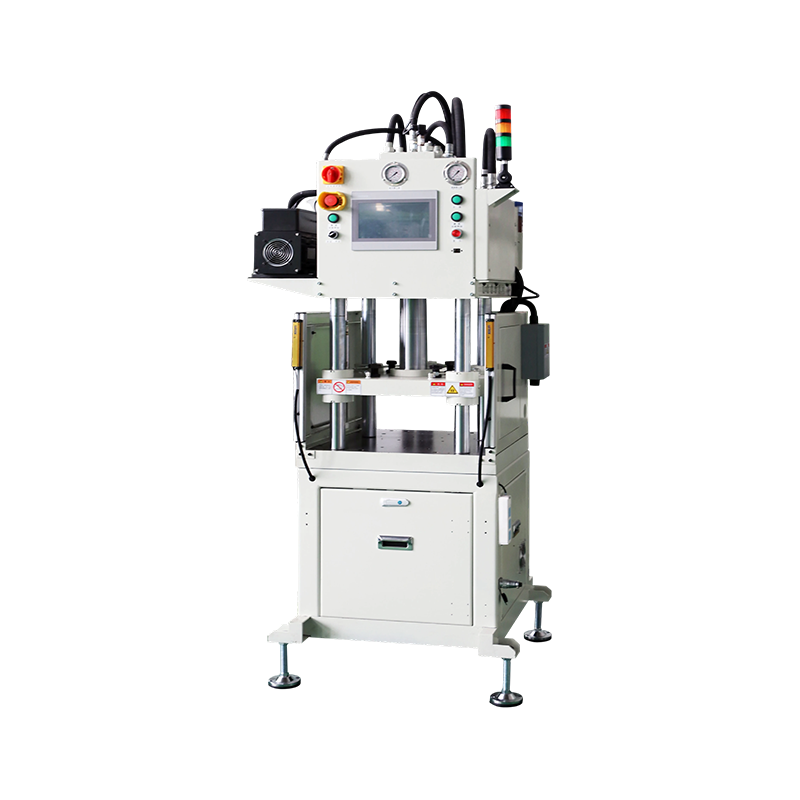
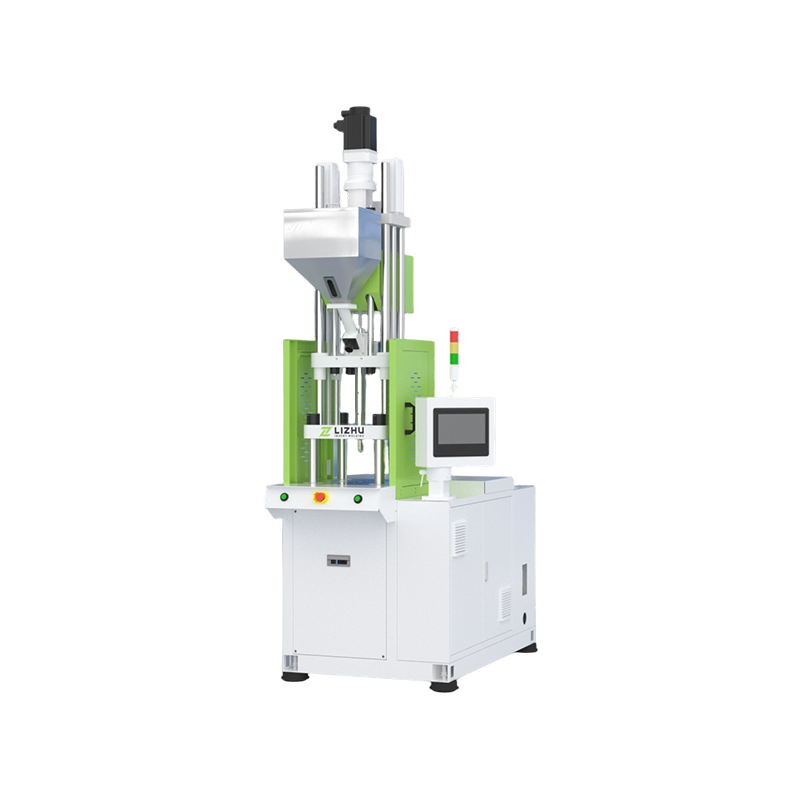 Electric Vertical Injection Molding Machine for Precision PartsDriven by servo motors, this machine offers low energy consumption, high precision, and minimal drift. It supports high-speed injection for thin-wall products like connectors, making it ideal for dust-free and precision manufacturing.View Product →
Common Startup Mistakes and How to Avoid Them
Most startup failures are the same few shortcuts repeated on every shift, and each one has a simple prevention.
- Skipping the electrical inspection after a long shutdown—condensation leads to short circuits.
- Rotating the screw before the full heat soak—causes screw seizure.
- Purging at high screw speed—burns the melt and sprays hot material.
- Raising hydraulic pressure before checking the relief valve—causes pressure spikes.
- Starting the pump with cold oil—cavitation erodes pump internals.
- Closing the mold before trial shots are complete—produces a damaged tool or a stuck part.
Startup Quality Depends on Shutdown and Maintenance Discipline
The condition the previous shift left the machine in determines how safely it starts today. A barrel left full of heat-sensitive resin needs a slower heat-up and an immediate purge; deferred lubrication accelerates wear in the first running hours. Log the previous shutdown's barrel temperature, purge status, and mold position so the startup operator has the exact picture needed. A machine on a regular maintenance schedule starts consistently, while a neglected machine offers a new surprise every Monday morning.
For the mechanical checks that keep a machine starting well for years, see key points for maintenance and upkeep of the mechanical part.
Injection Molding Machine Startup FAQ
How long does a cold startup take?
Plan for 30 to 60 minutes: about 10 minutes for inspection, 5 minutes for hydraulic warm-up, 20 to 40 minutes for heating and soaking, and the remainder for purging and trial-shot checks. A machine idle for weeks takes longer because condensation must be cleared from the electrical system.
What is the minimum hydraulic oil temperature for startup?
Oil should be between 20°C and 50°C while the pump is running. Below 20°C, high viscosity causes cavitation and sluggish valve response; above 50°C, oxidation accelerates and seals degrade.
Why should the screw not rotate during the heat-up soak?
Rotating the screw while unmelted pellets remain in the barrel shears solid polymer, overloads the drive, and can seize the screw. Waiting 15 to 30 minutes after all zones reach setpoint lets the melt soften uniformly.
What screw speed should be used for purging?
Use low screw speed—below 30 percent of maximum—with low or zero backpressure. High-speed purging creates frictional heat, degrades the melt, and throws hot material.
When is a purging compound necessary?
When switching between incompatible resin families, changing from a dark to a light color, or flushing out a material with heat-stable residues. For compatible material changes, purging with the new material at the old material's melt temperature is often sufficient.
For more on machine selection, installation, and daily operation, see the manufacturer's FAQ page.
Posting a written startup checklist at every machine and following it on every shift is one of the cheapest reliability improvements a molding shop can make. It costs nothing beyond time and prevents the expensive failures—a seized screw, a cracked mold, an injured operator—that appear later. Keep the sequence fixed and make every startup as routine as the parts it produces.